The ability to package and deploy applications quickly and effectively has made containers a vital tool for developers and system administrators. The tech sector has adopted Docker, a well-known platform for managing containers. In this article, we'll cover the basics of containers and Docker and show you how to get started with Docker to containerize your applications.
What are Containers and How Do They Work?
Applications and their dependencies can be packaged into a single unit called a container that can be run consistently in various environments. This makes sure that the application functions the same way on any host machine and makes it simple for developers to move their applications from development to production.
A fully virtualized operating system is not necessary for containers, unlike traditional virtualization. Instead, containers use namespaces and control groups to isolate the application and its dependencies while still using the same operating system as the host machine. This results in faster and more efficient deployment compared to traditional virtualization.
Docker Architecture
Docker uses a client-server architecture, where the Docker client communicates with the Docker daemon to build, deploy, and manage containers. Docker Hub is a centralized repository for storing and sharing Docker images. All the components required to run an application are included in a docker image, which serves as the container's architectural blueprint.
Docker containers are instances of Docker images and can be run on any host machine that has the Docker engine installed. Docker Compose is a tool for defining and running multi-container applications using a YAML file, and it also removes the stress of having to write bulky commands into the terminal to create multi-containers.
Getting Started with Docker To get started with Docker, you'll need to install the Docker engine on your host machine. You can download Docker for Windows, Mac, or Linux from the official Docker website.
Once Docker is installed, you can use the Docker CLI to pull and run images from Docker Hub. To check if Docker is installed on your computer, use the following command:
docker version
Docker Setup
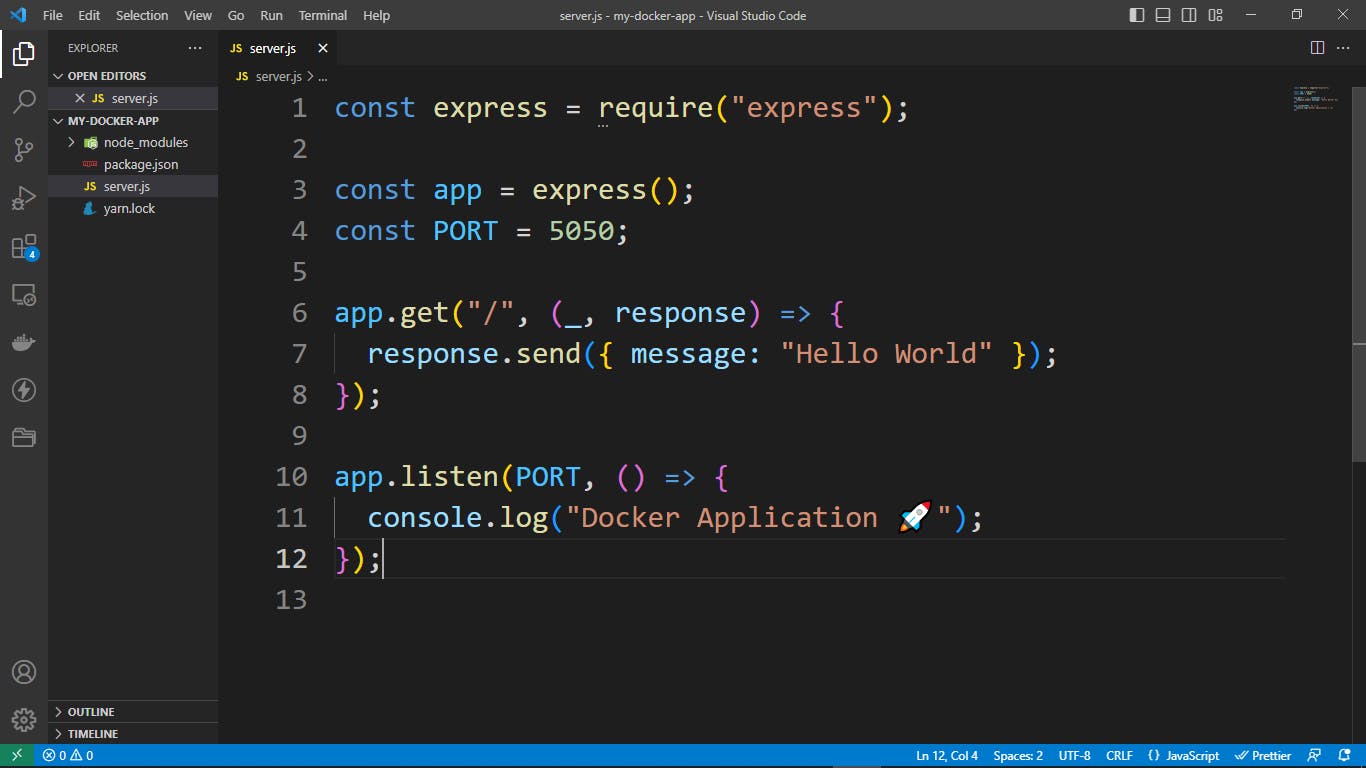
In this section, we will be talking about how to set up a docker image and container for an express server.
The starting server will look like the below image:
Dockerfile
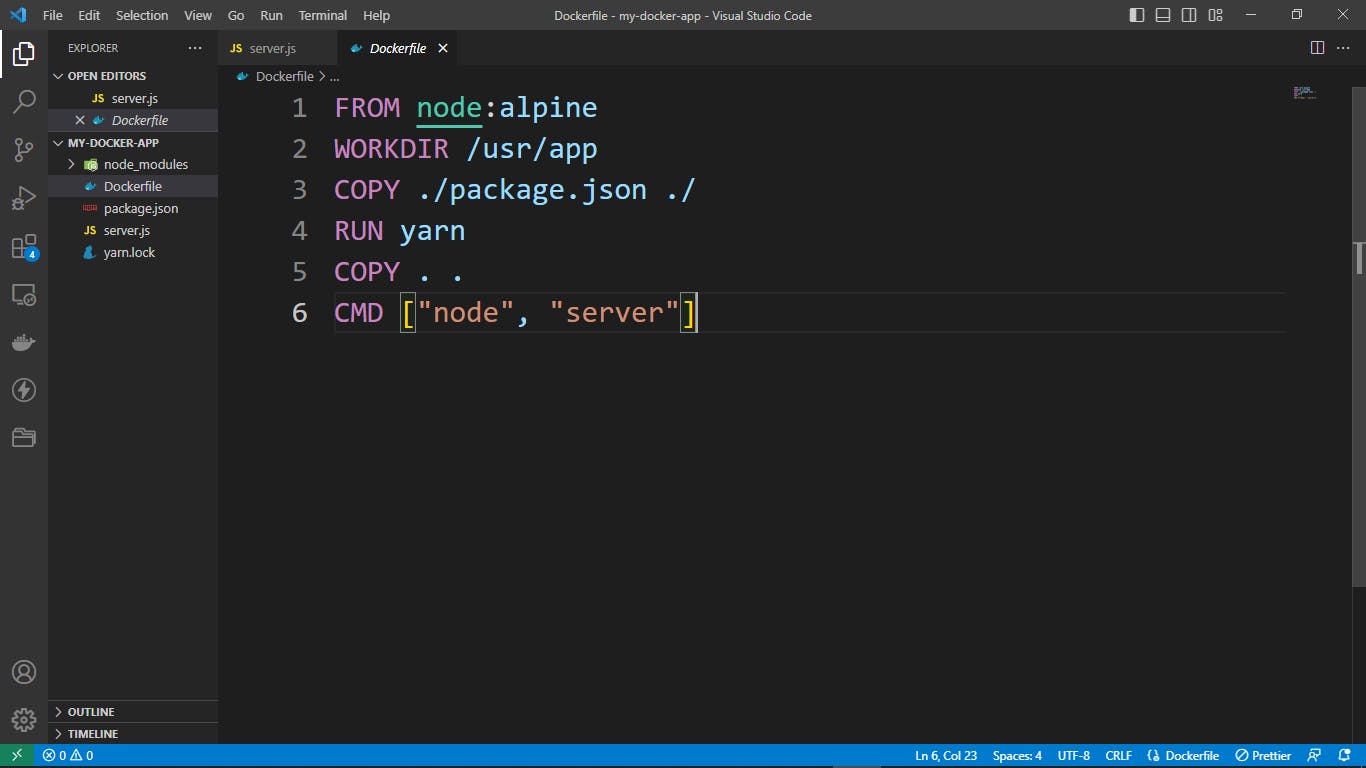
A Dockerfile is a script that contains all the commands necessary to build a Docker image. In the Dockerfile, you specify the base image, the application files to be included, and the commands to run the application. The Docker file must be named Dockerfile with no file extension for Docker to see the configuration. Here is an example of a Dockerfile for a simple Javascript application:
# Pulling a base image for the application from docker hub
FROM node:alpine

# specifying the work directory in the container
WORKDIR /usr/app

# copying the package.json file from host machine to the container
COPY ./package.json .

# executing the yarn command to install dependencies in the container
RUN yarn

# copying the entire application from the host machine to the container
COPY . .

# Set the default command to run when the container starts
CMD ["node", "server"]
Note: TheFROM command is how we pull base images for our application, as this is a javascript application that depends on nodes to run outside the browser, hence the need to use it as a base image. Depending on your use case, your application might require a different base image; you can check Docker Hub for the official images that your application might need here.
Our application should look like the below image:
Build The Docker Image
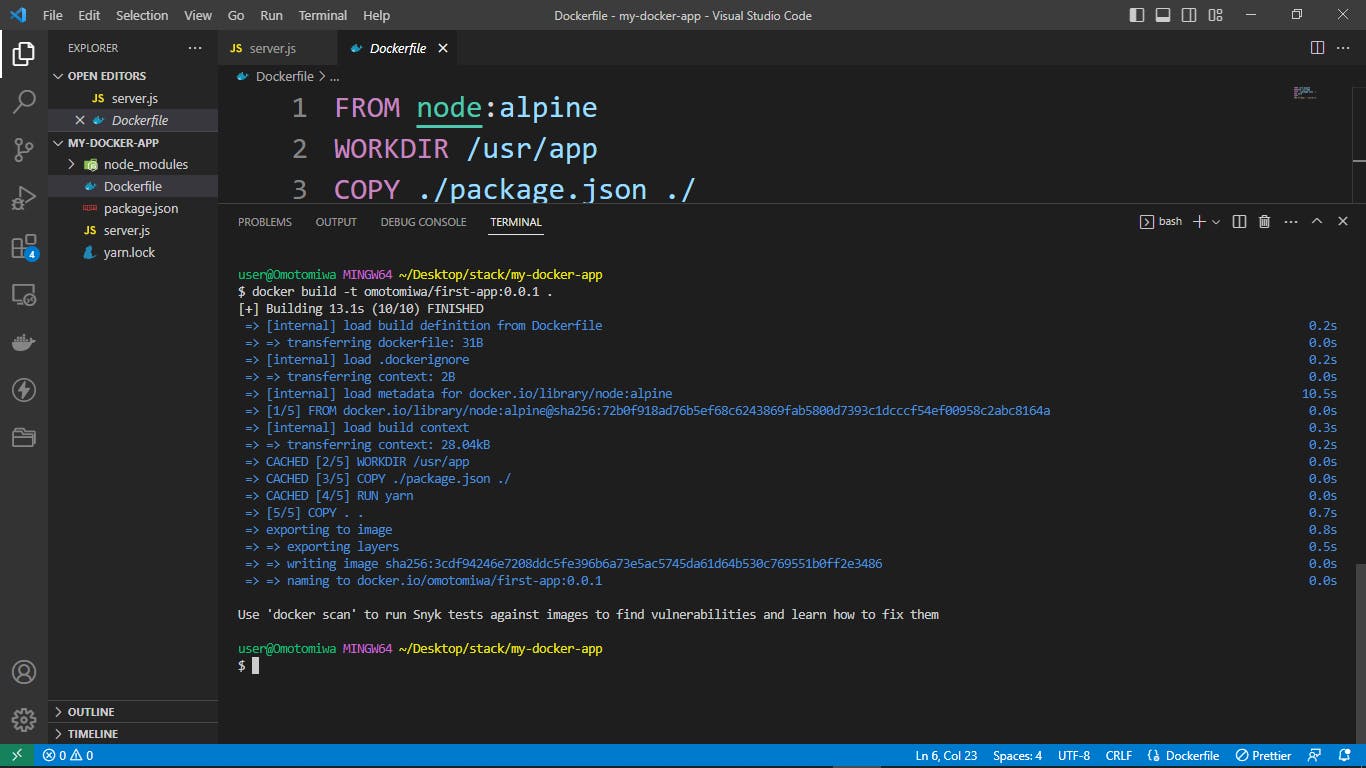
With the Dockerfile in place, you can now build the Docker image. To build the image, run the following command in the terminal while in the same directory as the Dockerfile:
docker build -t omotomiwa/first-app:0.0.1 .
The-t flag allows you to specify the name and tag (or version) for the image; if no tag is specified, it defaults to latest , then the . in the end specifies the build context, which is the directory containing the Dockerfile.
If the command runs successfully, we should see the logs below in the terminal:
Note: Ensure that there is no image created with a nameomotomiwa/first-app:0.0.1 before running the above command, or else we will get an error.
To check if your image was successfully created, run the following command:
docker images
This shows a list of the images you have locally.
Run The Docker Container
With the image built, you can now run the container using the following command:
docker run --name my-container omotomiwa/first-app:0.0.1
If the commands run successfully, we should see the logs below:
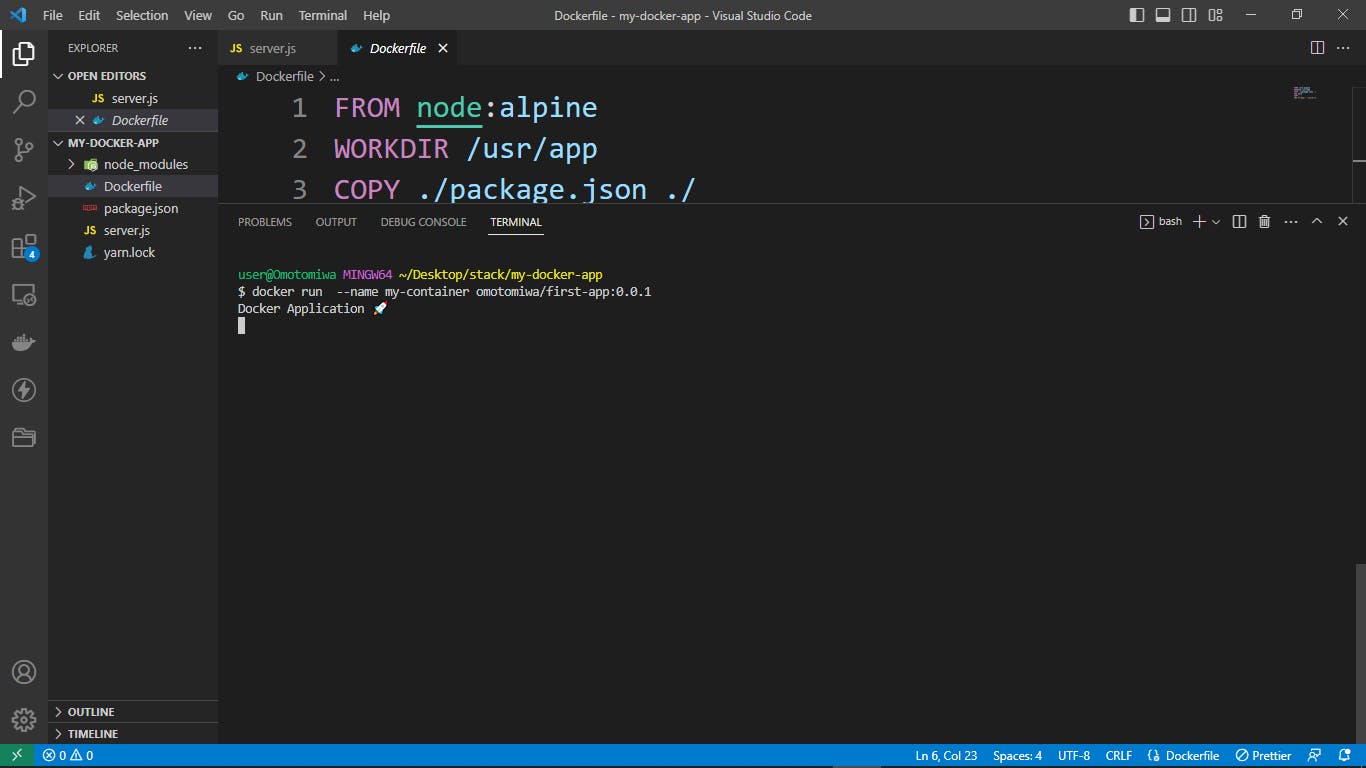
The --name flag allows to specify the container name or else docker gives a random name, there are other flags that could be used when creating a container, we can see a list of them in the docs.
To check if our container is running, we can use the following command:
docker ps
This shows a list of all running containers. Note: There may be a case where your container starts and stops at the same time, so to see all containers, both the ones running and the ones that have stopped, you can run the below command:
docker ps -a
Check Container Logs
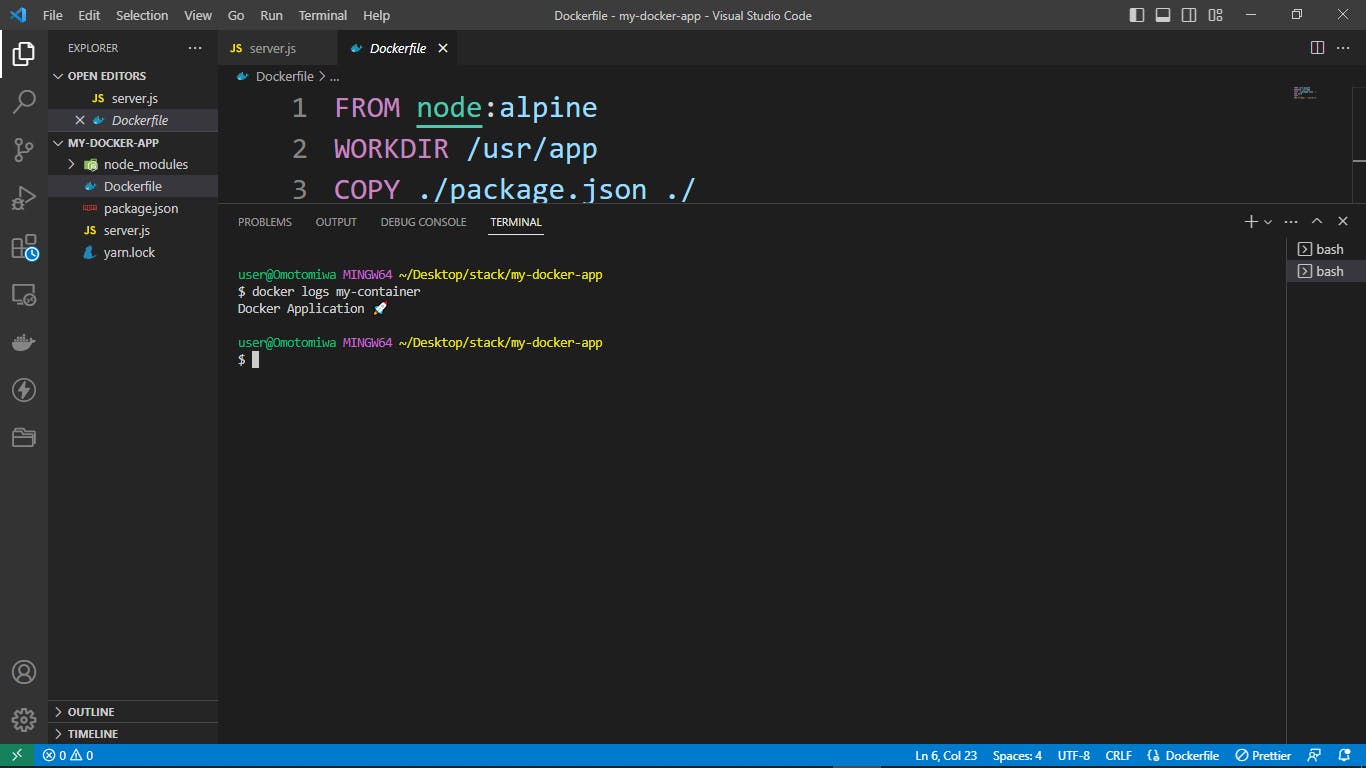
Once the container is running, we can check to see what is being logged in the container, maybe for debugging or just to know what is happening inside the container.
We can run the below command to check the container logs:
docker logs <container name>
Note: In the case where you do not specify the container name, you can run the docker ps command to see the CONTAINER_ID and replace the <container name> with the container id.
Deleting Images And Containers
To delete a container, you'd have to make sure the container is not running, in other words it is stopped, the below code snippet can be used to stop a container:
docker stop <container name>
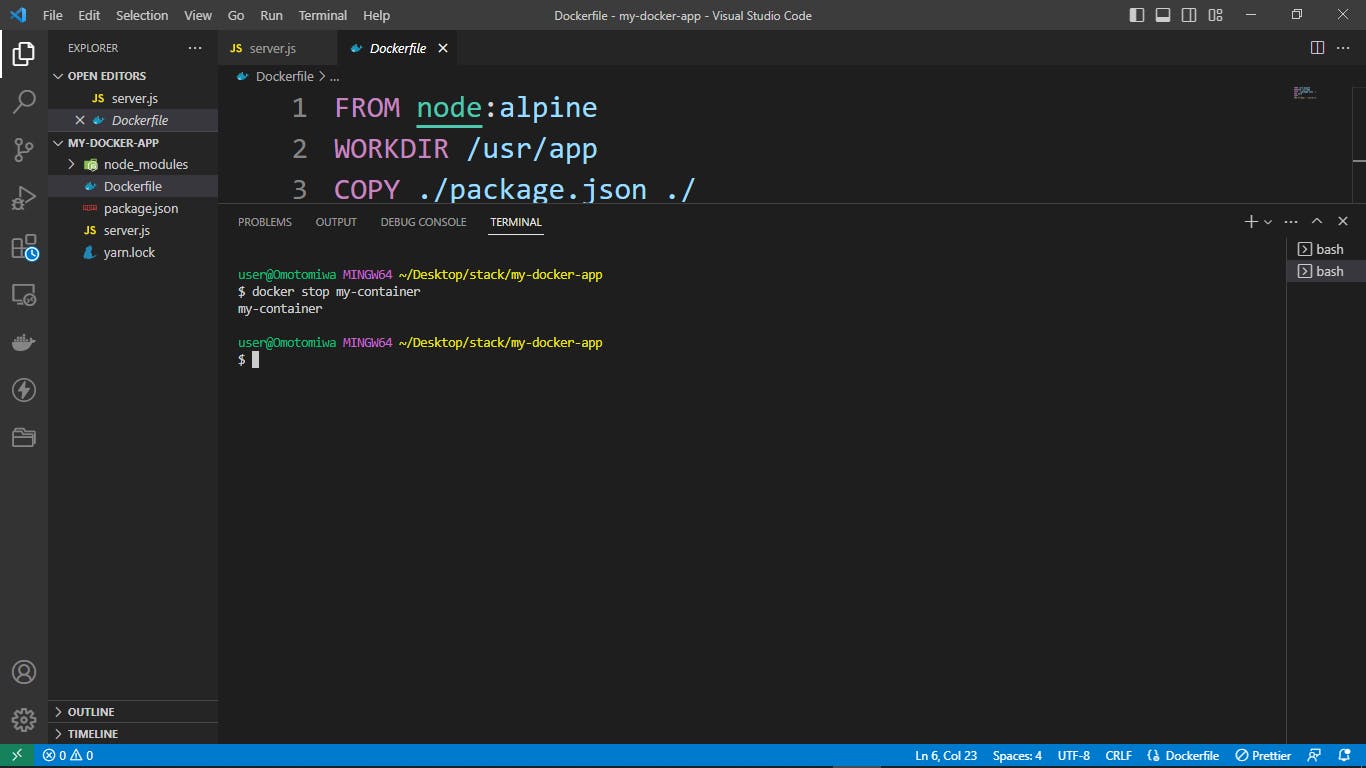
Once the container is stopped, we can go ahead and delete the container using the below command:
docker rm <container name>
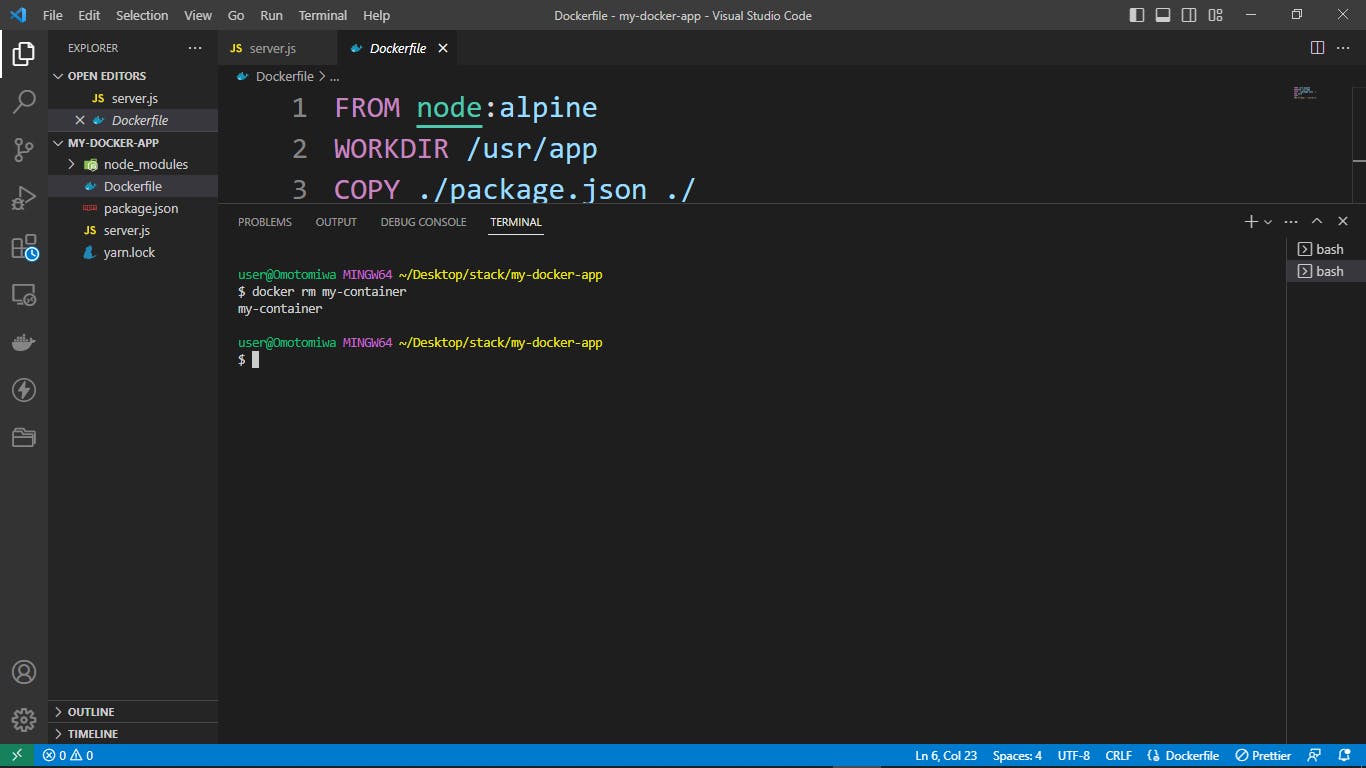
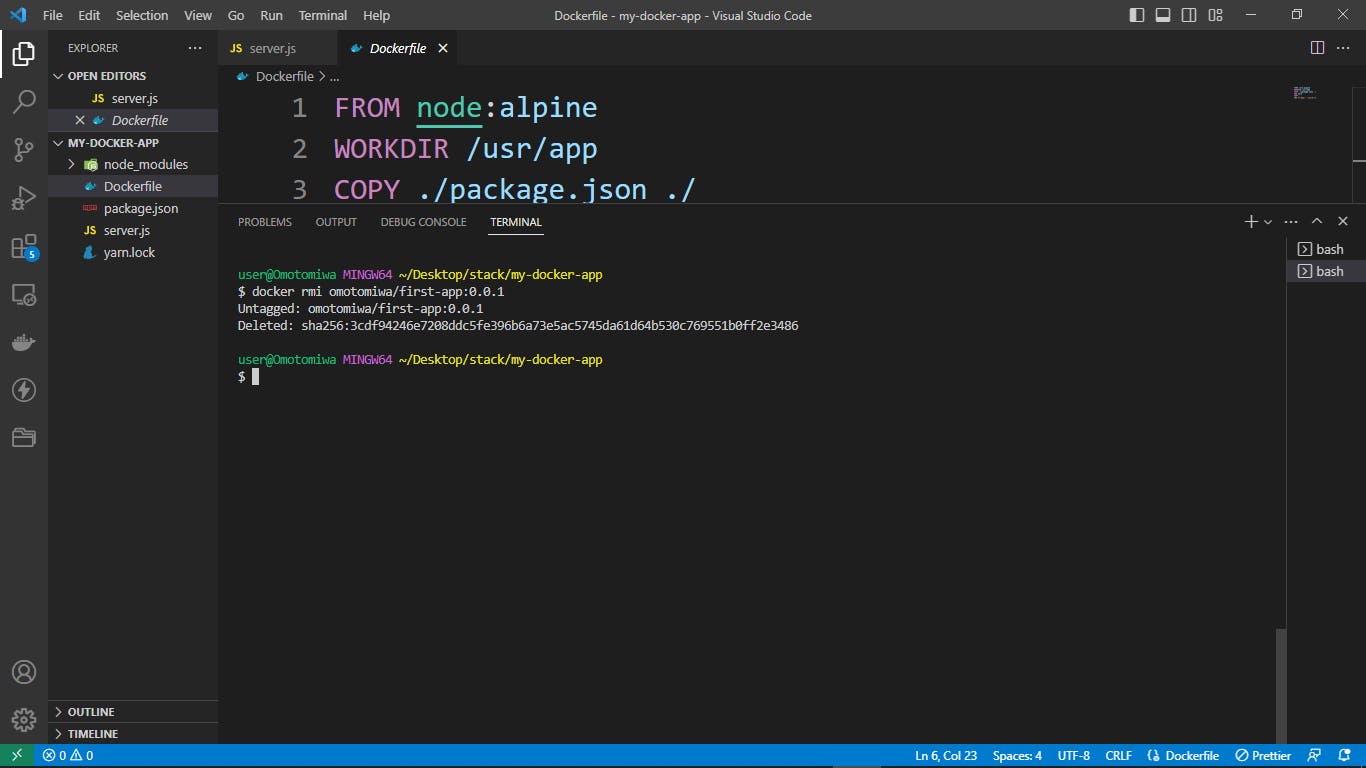
To delete an image, you have to ensure no container is using that image; if a container is using the image, we'd have to delete the container before we would be able to delete the image. To delete an image, we use the below command:
docker rmi <image name:image tag>
Conclusion
In this article, we have shown how to dockerize a simple javascript application using a Dockerfile. By following these steps, you can easily package your application into a Docker container, making it easier to deploy and manage.
In the next article, we would talk about how to use docker-compose for running multi containers and we would be building a mini express server that uses a MongoDB image for connecting to the database.
Finally, if you found this article useful, please consider sharing it with your friends and colleagues. If you have any questions or want to discuss anything related to the topic, please feel free to reach out to me on Twitter or LinkedIn. I would be happy to chat with you.
Thank you for reading.
